About the design of a seeder for manual precision sowing of seeds
A manual precision seed drill, just like a garlic seeder, in its design features looks like a rather unpretentious invention . It consists of one or more containers where the seed will be located, a control handle and a frame located on wheels.
The wheels, which are located in front of the device, form holes or furrows, after which the seed from the hopper falls there, and the rear wheels fill the resulting hole with loose soil.
As we can see, the principle of operation is quite simple. In fact, you simply direct the unit over the area where you plan to grow various vegetable crops, and behind you there will already be holes with seeds.
At the same time, with the help of a manual seeder and a lawn seeder, you can plant not only seeds of lawn grass and vegetables, but also fill sand or fine gravel on icy and snowy paths in winter, so that you can safely walk on them without fear of falling.
In general, the process of working with a manual precision seeder can be divided into three stages:
- Assembly process. First you need to install the control handle from the transport position to the working position, and then put the rear wheel on the axle (if the unit used consists of two wheels). If necessary, we adjust the marker.
- Carrying out regulatory actions. Depending on what kind of crop the seed will be used, the installation of a specific disc in the bunker will depend. It is difficult to confuse them because they are all properly labeled.
- The depth of the share must also be adjusted according to the specific seed.
- Carrying out sowing work. After we put the unit into action, torque is transmitted from its front wheel to the disk through a belt or chain drive. This disk captures the seed from the container, and the ploughshare forms the desired depth of the hole.
- The marker is responsible for ensuring that the row of seeds planted is level , so he forms a line on the ground for the next row.
For convenience, as well as for uniform distribution of seeds in the soil, it is recommended to sow the first row along predetermined contours. You can drive two pegs along the edges, connecting them with rope or thread. Thus, following parallel to this border, you will get a very even and visually beautiful row.
Models, technical specifications and prices - which one is better to buy
Manual precision seeders are designed to speed up the sowing process. Therefore, few people question the feasibility of purchasing them. However, to make the right choice, you need to pay attention to several main points:
- The cost of the unit, which can vary greatly among different manufacturers.
- The total number of containers for seed material. Again, the more data bins, the higher the cost of the device.
- The depth of the holes being formed will depend on the crop whose seeds are planted.
- The weight of the device also plays a role, especially when working over large areas
- The presence in the unit of additional devices that make the sowing process more convenient (marker, plow for filling seed, etc.).
There are quite a lot of different models on the market from manufacturers, which differ from each other in several design aspects.
In total, there are several companies that are most widely represented on the Russian agricultural machinery market.
Newtechagro
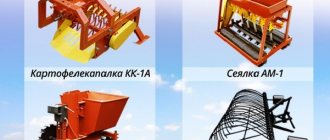
The device from this company is a single-row type of unit designed for planting beets, cabbage, onions, carrots and other vegetable crops. The average cost for such a seeder is about 65 thousand rubles.
SOR-1/1
SOP-1/1 from the Rosta company also applies to single-row devices. The design may include a bushing or brush sowing unit, with a row marker of half a meter. The seed container holds about two buckets of seed, which is quite enough for a small garden.
The price for such a unit is only 2-3 thousand rubles.
1001-B
model 1001-B has six interchangeable discs for a wide variety of crops. In total, using this seeder, you can plant more than 28 different vegetable crops.
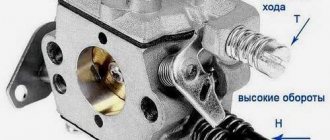
The design of the unit contains a special adjusting screw that allows you to change the depth of planting of the material.
- total weight – 4 kg;
- dimensions (packed) – 350mm/200mm/700mm;
- planted crops - beets, carrots, onions, peas, spinach, etc.
The cost of this unit is about 8 thousand rubles.
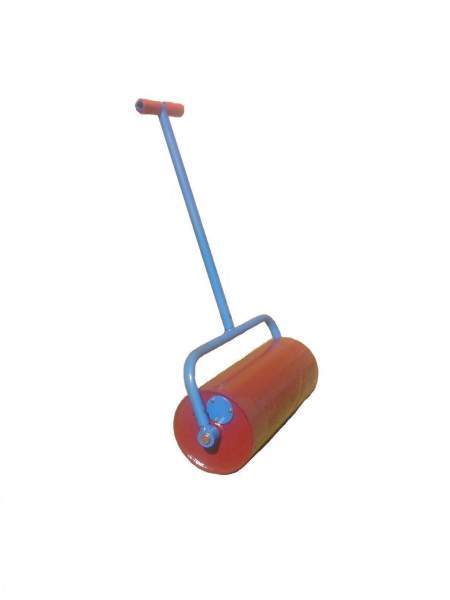
SR-1 and SR-2
Models SR-1 and SR-2 from the one already mentioned also deserve special attention.
Structurally, they are somewhat different from typical manual precision seeders, because their design uses a roller, and not a rear wheel, like most models. SR-1 has a mass of 4 kg, and SR-2 weighs at least 18 kg.
In general, these devices are very similar, they differ only in size and cost - the first model will cost 4 thousand rubles, and the second about 7 thousand.
Models of the MSK series from the same company differ in that their design does not have a control handle.
The seeder is connected to a regular shovel handle, after which the sowing process takes place. At the same time, the average productivity of these units is about 0.2 hectares per eight hours of operation.
The cost of these models varies from 7 to 15 thousand rubles.
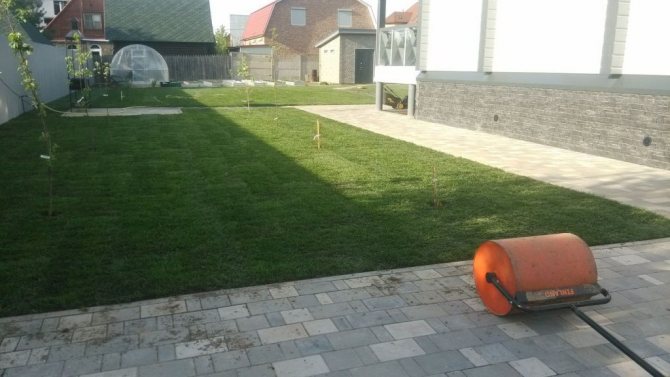
Why is a skating rink needed?
It is really difficult to overestimate the importance of such equipment, especially for a private home, where there are no all kinds of sophisticated compaction machines and other devices. In gardening, it is enough to get by with a small roller, which will compact the soil before planting a lawn, bring it to normal condition, level the horizons, make a perfectly flat area, etc.
So, here are the following series of tasks that you can easily handle with a manual compaction roller:
- Soil treatment, including compacting the newly sown lawn.
- Leveling the ground level, as already mentioned.
- Maintaining the generally aesthetic appearance of the home lawn, due to special devices on the skating rink (more on this later).
- Removing ice dams in winter.
- Adjusting the water level in the soil.
- Formation of paths on the lawn.
- Compaction of individual areas.
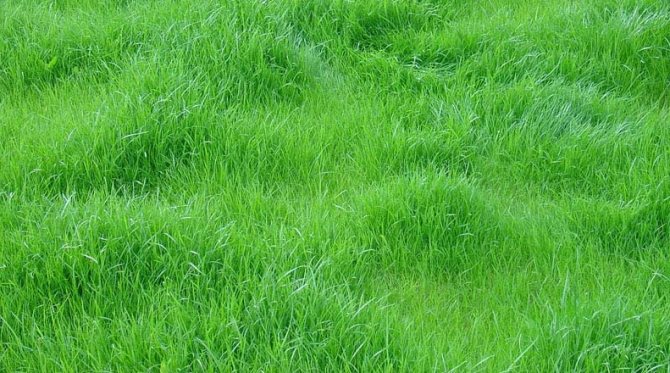
- Removing uneven areas and other defects in the area.
Read on topic: Asphalt concrete recyclers
Regarding the last point, there are many positive points, because with further maintenance of the lawn, you will need to mow it often, but now think about whether it will be convenient to do this with all kinds of hills and holes on the site? Of course not, because in this case not only will the lawn mower or brush cutter units become strained, but the knives will also constantly become dull. Therefore, the advantage is obvious.
How to make a homemade seeder with your own hands
made quite simply with your own hands but before starting work you need to make sure that you have everything you need. In particular, you will need a seed container, which should be made of plastic.
Here you can get acquainted with the work of the Viking cultivator.
Kamaz running on methane means high productivity and great savings.
The boat cart has become very popular among Russian fishermen.
This is explained by the fact that plastic products are transparent, which allows you to control the amount of seed. In addition, we will need the following components:
- a bolt that acts as an axis. The container with seeds will rotate on it during operation of the device;
- We will also need a plastic pipe, the length of which should be identical to the depth of the plastic bin container. In addition to the plastic one, we will also need a steel pipe, its length should be the same;
- to secure the hopper we will need washers, as well as aluminum wire.
Let's move on to the assembly process. We will describe it in the format of step-by-step instructions so that an approximate algorithm of sequential actions can be seen:
- of the plastic jar that serves as the future bunker needs to be determined. A through hole must be drilled at the marked point. We remove the cover, after which we make another through-type hole in the side, but this one is rectangular in shape;
- The hopper will be filled with seed through this hole.
- We place a plastic pipe in the center of the plastic jar, which will protect against material spilling out of the hopper. Then you need to install a steel pipe into this pipe and screw a bolt inside it. Then we tighten the bolt with a nut, which will allow our structure to rotate freely;
- On the side of the plastic container we mark points for future holes. The distance between them should be approximately 30 mm. We heat the nail, and then make holes in the marked places (the diameter of the nail must be chosen so that the seeds pass into the holes made by it);
- Then you can move on to making the handle. You can take a regular shovel handle, then attach it to the seeder. It is fastened with a regular bolt and nut, so you need to first drill a through hole at the end of the handle into which the bolt is placed;
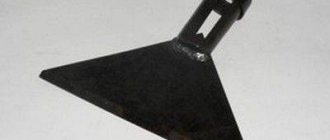
- In order for the sowing process to be more automated, it is necessary to provide a device that would fill the holes with seeds. An ordinary sheet of iron will do, but it needs to be bent a little so that it rakes the earth better;
- We attach our workpiece to the handle so that it is higher than the container with the seed.
In principle, our homemade device is ready, i.e. you can begin full-fledged sowing work. Naturally, this device diagram is quite simplified, but it copes with its main responsibility.
The main point of all homemade products is to save money, so there is no point in complicating the design with additional devices.
By the way, before starting sowing work, it is necessary to carry out preliminary preparation of the surface where the work will be carried out. It involves removing excess debris from the area, as well as loosening particularly hard areas of soil.
It won’t hurt to water the soil with enough water. If you have not included a device in your homemade seeder that scoops up the holes with seeds, then you need to prepare several buckets of soil to fill our seeds.
Technology for creating an asphalt skating rink with your own hands
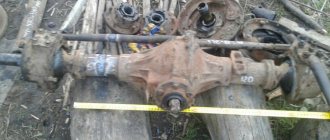
Iron pipe roller
In order to make a skating rink from a pipe, we will need the following tools and materials:
- Bulgarian
- Welding machine
- Electrodes
- Metal wheel and grinding wheel
- Iron pipe with a diameter of 30 cm (pipe length 1 meter)
- Metal corner 50 mm wide and at least 2 meters long
- Bearings – 2 pcs.
- 10 – centimeter shaft for bearings
- Metal pipe with a diameter of 30 mm and a length of 2.5 meters
- Iron sheets 30*30 cm – 2 pcs.
- Sand
So, let's move on to the technology of creating an asphalt roller with your own hands.
Iron pipe roller
First of all, we weld a 30*30 cm sheet of iron to one of the ends of the 30-centimeter pipe. The sheet should be the same diameter as the pipe, so we cut off the remaining corners with a grinder and carefully grind the joint itself. As a result, we got a pipe with one welded end (the so-called bottom).
Now we place the pipe bottom on the soil and pour sand into it, compacting it thoroughly, because The more sand you put in, the heavier the asphalt roller will be.
Using the same technology, we weld a second sheet of iron on top of the pipe, then cut it off and carefully grind it.
In order to be able to add sand to the roller container later (when it is compacted well), it is recommended to make a threaded hole and a screw-on plug on one of the sides. The construction of the most executive part of the skating rink is ready.
Next we move on to the mechanism that will make the roller rotate. We take 2 bearings and drive a shaft into them (5 cm each), after which we secure it by welding.
After this, we take a metal corner and set it into three parts: 40 cm, 40 cm and 110 cm. We weld all 3 parts in the letter P (40 cm sections on the sides, 110 in the middle) and weld the outer parts of the bearing structure to the sides of the finished frame.
Now we return to the roller itself, calculate the center of the cylinder circle on both sides and at this place we weld the bearing shaft, which is welded to the bearing itself.
Well, in the end, we weld a metal pipe to the U-shaped frame, which we cut in advance and weld with the letter “T” (longitudinal part 2 meters long, transverse 0.5 meters) to make a comfortable handle.
At this point, the construction of a manual asphalt roller with your own hands is considered complete.
It should be noted that you can do without creating a bearing mechanism for the roller; instead, simply make holes in the sides of the U-shaped frame into which the shaft will be inserted. The disadvantage of this design is that the roller will be difficult to push, and therefore there will be no question of any comfort!